
This is the story of the fully analog re-mastering work of a vintage consumer tape. Let’s take a look of what we did and how and why we did it.
Whenever we have the time, we go into our archive of recorded analog sound and pick one of the tapes or records for remastering. We want to preserve the analog sound in the best quality possible so that future generations may enjoy the music, not as garbled digital streams, but in high quality, uncompressed and without digital nonsense.
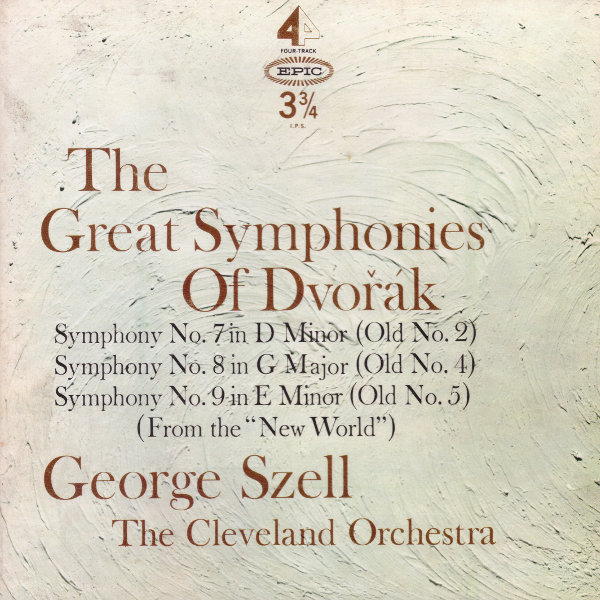
This is the story: In 1959, Maestro George Szell, widely considered to be one of the twentieth century’s greatest conductors, taped a number of Dvořák symphonies with his Cleveland Orchestra. Thankfully, the Severance Hall, the orchestra’s permanent home, was acoustically remodeled just the year before and the recordings turned out to be exceptionally well.
These performances have been commercially remastered a few times, but each recording attaches a new (95 year in the US) copyright while the legal protection of our source expires around 2054 (in the US) and in 2029 (other countries). So we are feeding our database with remastered high quality recordings to be released into the Public Domain as soon as legally possible.
This particular recording came on a EPIC (Sony) 1/4″ tape, unfortunately only with 3 3/4 ips (inch per second) speed. Most of our tape projects start with faster speeds (7 1/2 ips or faster), but some recordings are very hard to get and we have had success with some other slow speed tapes. So why not give this one a try? Here is how it sounds (raw recording, Stereo image corrected):
Not too bad, but, as expected, it sounds a little dull and in-transparent. The frequency range was limited to about 15 Khz.
Now – we’re doing analog only remastering. In other words, we can’t just load the music into a DAW (digital audio work station) and fiddle with a few plugins. We want and have to do it “old school”.
The tools of our choice were:
- Otari MX 5050 Reel-Reel machine
- Behringer Ultragain 2 tube pre-amplifier
- Aphex Aural Exciter
- DBX 231s Graphic Equalizer
- TASCAM DA-3000 Digital Recorder
The sound runs from the OTARI through the main mixer where it is split into 2 Stereo signal paths: one path runs unchanged to a second mixer while the other Stereo signal runs through the analog audio tool chain to the second mixer. This allows us to combine the original raw audio with the mastered audio in what we believe to be the best ratio.
We are monitoring the signal with a real-time spectrum analyzer and a computer based display showing us normalized logarithmic graph for the frequencies and a Lissajous / phase correlation graph for the Stereo image of the signal.
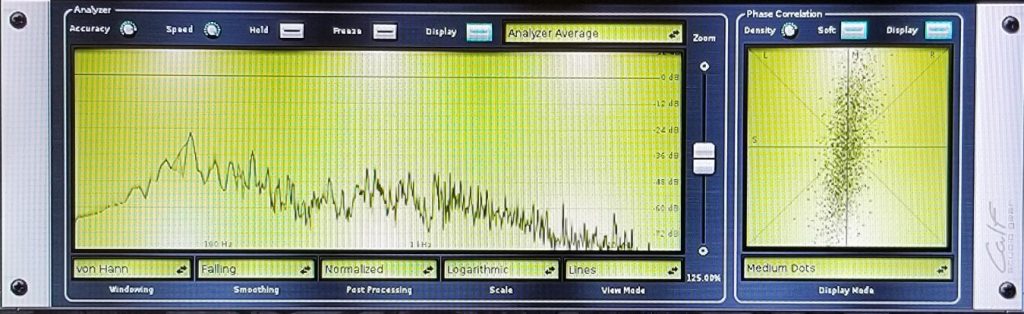
The image above shows that the signal is slightly misaligned towards the right channel. Vintage tapes usually loose signal strength unevenly so that needs to be corrected as well. However – it is important to understand that we use the computer only for monitoring. The signal is fed into a computer – but doesn’t come out.
The pre-amplifier is used to give us the necessary signal strength for the processing. The fancy stuff happens in the “Aural Exciter“. It is used to artificially “create” harmonics which make the sound clear and more transparent.
Now – what does that mean? If you want to enhance the upper (or lower) frequency range, you could simply dial up the equalizer. But that would also increase the noise (like the tape hiss) . An equalizer simply makes frequency ranges louder (or quieter), it doesn’t expand or increase the frequency range. An aural exciter does exactly that. Let’s take a violin for example. It’s vibrating string(s) do not just create the tone the musician wants to play. It also creates partials, harmonics and overtones. You can look it up – it’s complicated. Basically a multitude of frequencies are created – all the way up to 20 Khz and beyond. They all follow physical laws and the aural exciter attempts to re-create some of those additional frequencies – expanding the frequency range in the process. Isn’t that cheating? Not really. Those additional frequencies were there when the orchestra performed the symphony. They just got lost due to the recording or the limitation of the source material. We are simply re-creating those lost additional frequencies without increasing or modifying anything from the original.

Finally the signal passes through the graphical equalizer to get the final touch and is recorded on the TASCAM. If possible, we record in DSD. I wrote a complete blog post about DSD and PCM (WAV) audio. You may want to read it.
This time, we recorded in 96khz PCM audio, because we had to take care of a drop-out and DSD audio can’t be edited (well, strictly speaking, you could – but that would be cheating).
So here’s the remastered version of the audio:
Not bad – considering the fact, that we started with a 3 3/4 ips consumer tape – and that there was no digital enhancement involved.
However – in order to deal with the drop out, we had to boot the DAW. Again – only to fix the drop out. No digital touch-ups whatsoever.
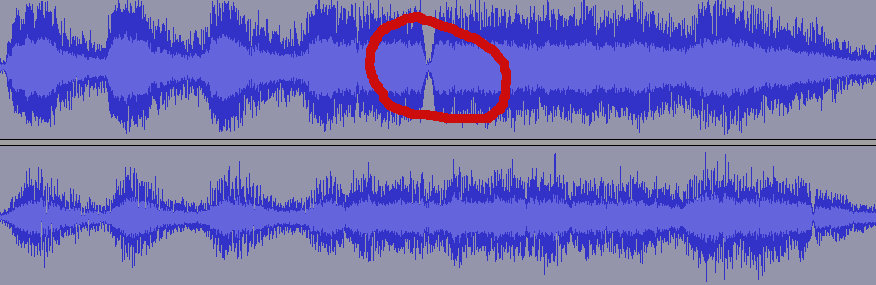
Vintage tapes suffer from a lot of problems. However, drop-outs are relatively rare. And there are no clicks and pops we have to deal with. That’s why we prefer to work with tapes. However – drop-outs last much longer than a click or pop – so they are much tougher to fix. But we were lucky this time.
Here’s the audio with a drop-out on the left channel:
We literally “plugged” the drop with a similar piece o the performing and were able to bridge the gap in an inaudible way.
So that’s it folks. The performance is safely transferred and re-mastered to 96Khz FLAC files and stored on M-Disc – a kind of storage media that is supposed to last 1,000 years.
Until the day this file can be released into the Public Domain sometime in the future. Either by myself (the Grandma version of me) or by the lawyers who keep copies.
For now – have a great day.